Field Notes
Hands-on experiments and discoveries testing product analytics tools
The Complete Guide to Choosing a Product Analytics Tool

If you've ever Googled "best product analytics tools" and ended up more confused than when you started, I get it. Those articles all show you a list of fifteen tools with a feature comparison table an...
Setting up PostHog
For this site, I decided to install PostHog. I regret that I didn’t use the experimental PostHog AI Wizard. Instead, I did it the “old fashioned way” and copied and pasted the installation instructions for Astro implementation to Claude Code, which still worked great.
To put it simply, Claude Code added a universal tracking script to each page, and also set up event tracking on key events like upvote_toggled, search_performed, review_submitted, etc.
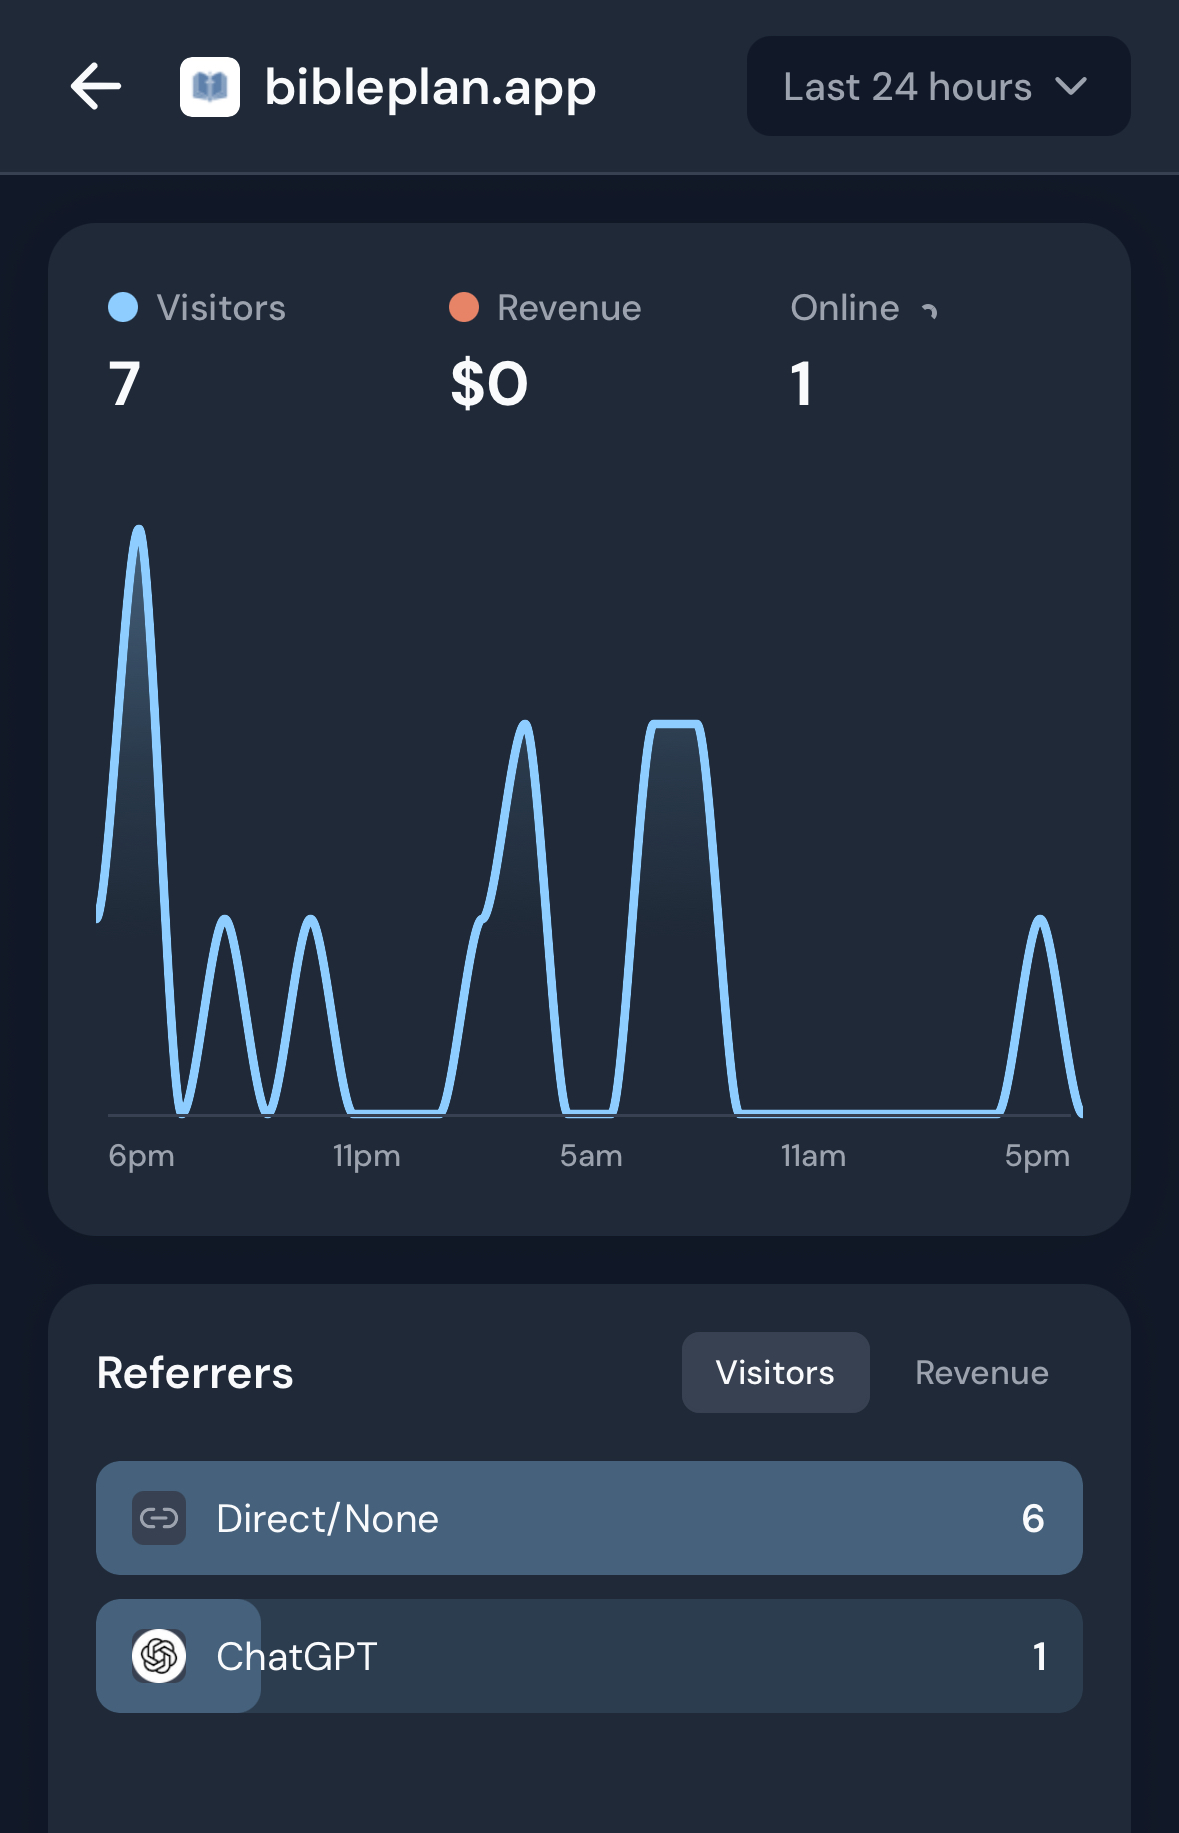
I have tried PostHog once about a year ago on my BiblePlan app and immediately switched to Umami because I found the dashboard overwhelming for my needs. Coming back to it over a year later, I still think the interface is too much for simple analytics tracking (it definitely is pushing you to add people to your team, integrate more tools, etc.). But like I said about Datafast in relation to Umami - Umami really needs to catch up and add options to add tracking with AI, make the docs more friendly, and make an official MCP.
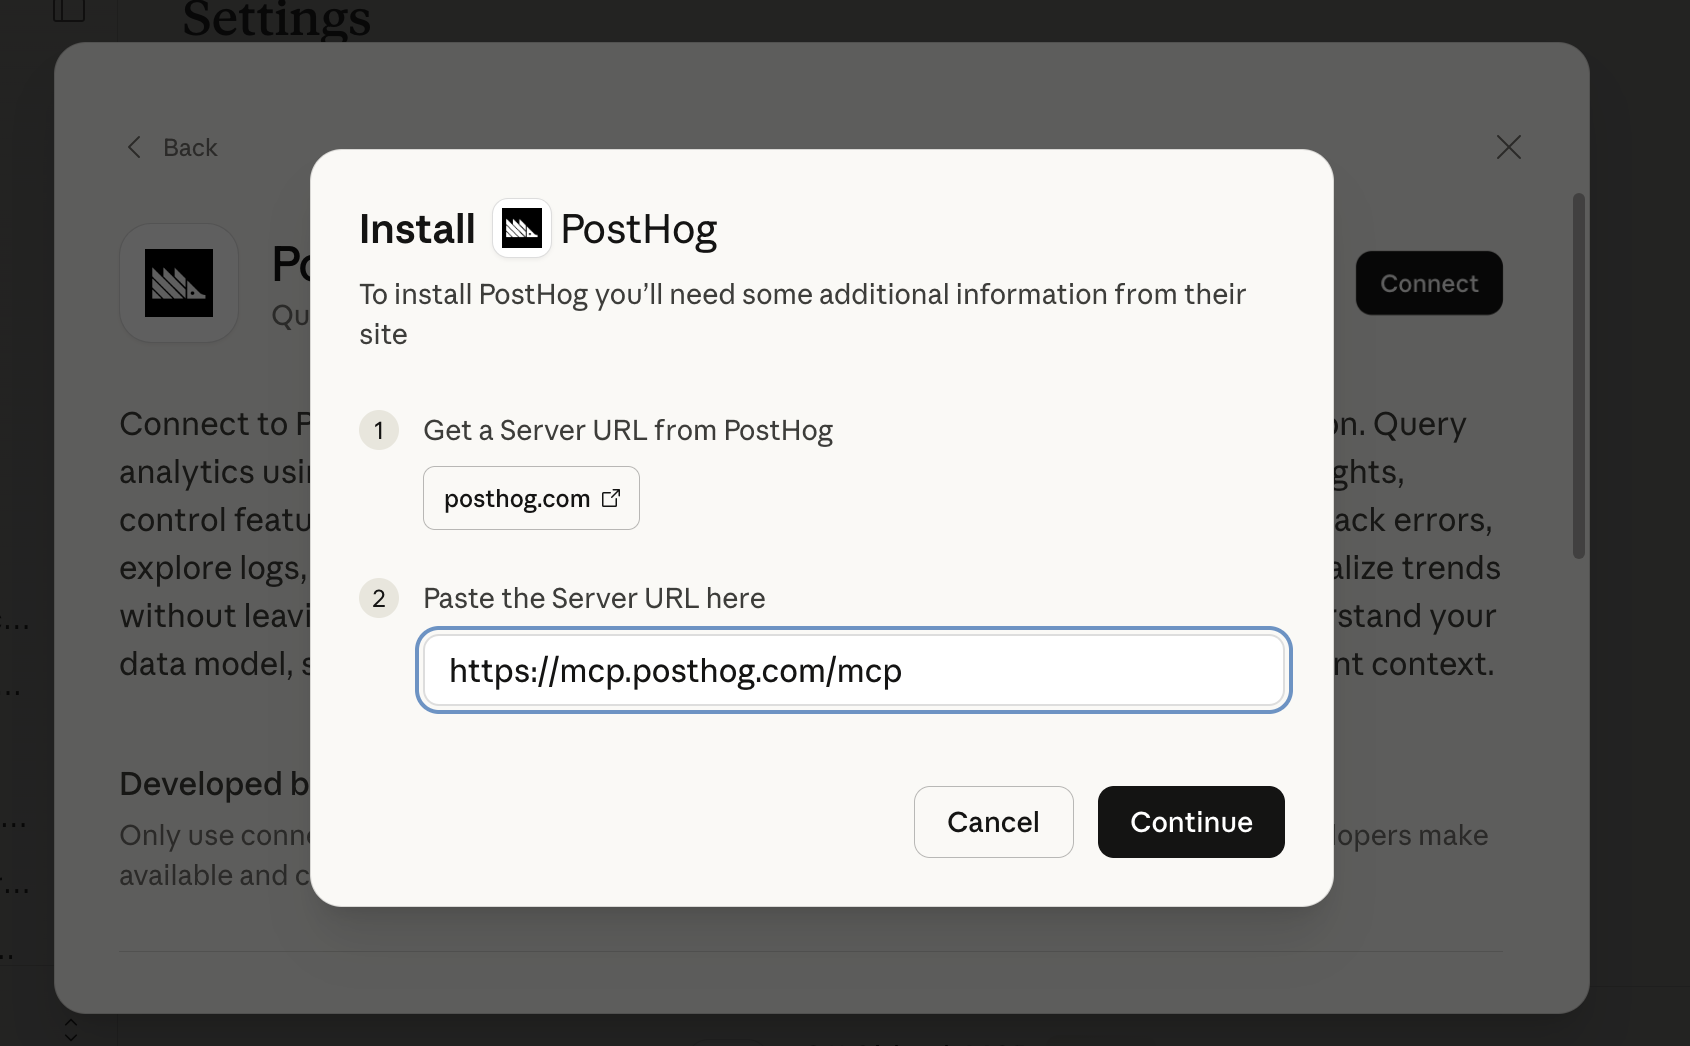
I chose PostHog for this site specifically because I wanted to try a generous free tier with an MCP server. I set up the Claude Connector. It wasn’t totally clear based on the PostHog documentation or the Claude documentation how to get this “server URL”. I asked the PostHog AI assistant in my dashboard and it actually gave me an incorrect URL, but after trying a few different things I figured it out:
So far, this site is too new to really get meaningful insights from PostHog, but by asking some questions in the MCP I was able to add a few tracking things I was missing, including filtering out my own traffic and adding page type to every page view.
Overall, the setup was easy, I’ve enjoyed using the MCP with Claude, and I’m looking forward to getting more traffic to have more data to analyze!
Testing the Amplitude <> Claude Connector
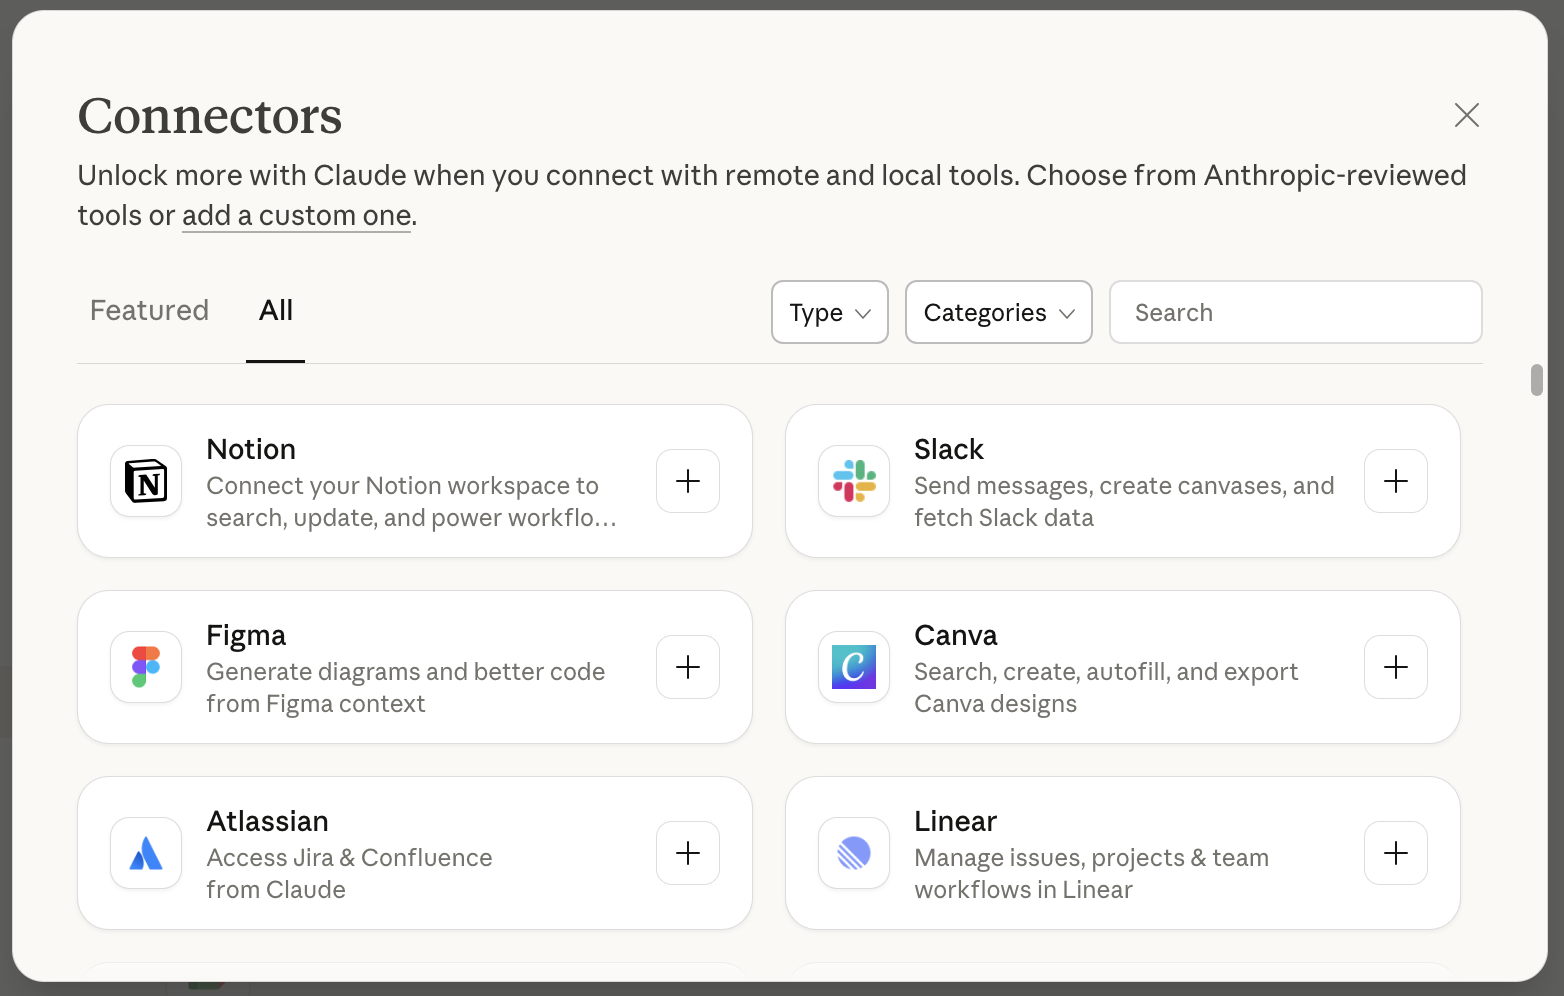
Today I tested the Amplitude ↔ Claude Connector for the first time. For those unfamiliar with Claude Connectors, they are just MCPs under the hood, but are showcased in a nice way on the Connectors page in Claude.
For some context, I work for a B2B SaaS startup and we use Amplitude for product analytics. As an IC product manager on a small team, I don’t have as much time as I’d like to learn how to use a full-featured product like Amplitude. Their UI confuses me, there are way too many modules in the sidebar, and we were forced into using them after they acquired June.so, which worked much better for our use case. So all in all, I have not spent much time in Amplitude since we migrated over.
But the Connector intrigued me, and I decided to try it out. It took me less than a minute to set up (click “Connect” and authenticate via my account), and I was able to chat with Claude and ask it what data I had available and what I should analyze.
It’s been hard to wow me lately with AI tools. With new models coming out every month and the capabilities getting better, some things just aren’t that impressive. But this really was, especially for my use case.
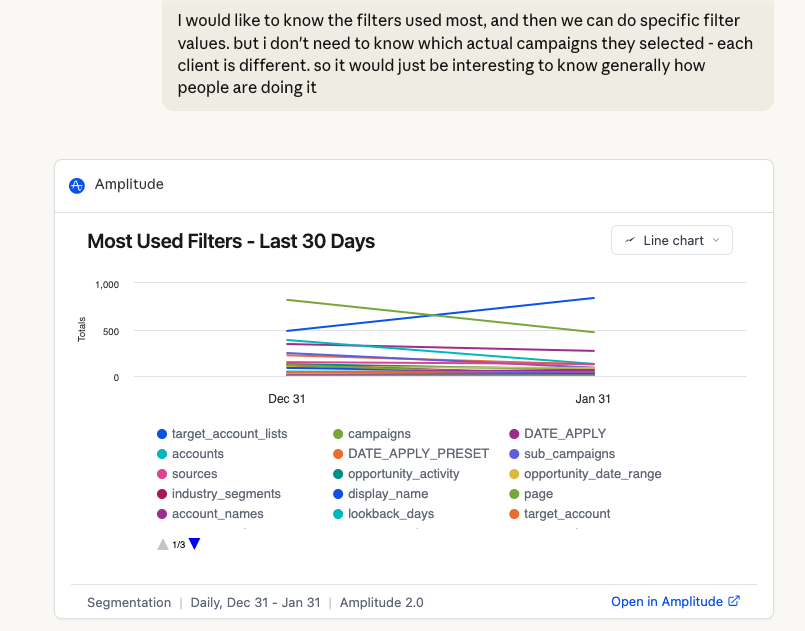
I ask Claude a question. It queries my Amplitude data, creates an Amplitude chart that I can import back into Amplitude’s custom report builder and save to run again later. And then of course does more analysis.
This is a HUGE plus for Amplitude. I also asked it to help me audit the tracked events, and we found a few key actions that we need to add tracking for.
Overall - if you would have asked me yesterday if I recommended Amplitude, I would’ve said no. But today, I’m whole-heartedly saying yes, if you use the Connector, because it makes it so ridiculously easy to get the insights you need, just by asking.
Setting up DataFast
In my quest to try the best analytics tools, I installed the DataFast script on my testing site BiblePlan. The site gets a few visitors a day and a signup every few days, so it’s a decent testing ground.
I know I’m not Marc’s target audience because from the DataFast homepage he’s clearly optimizing for revenue attribution and BiblePlan is free, but I still wanted to try it.
Installation was stupidly simple with the “install with AI” script. Within 10 mins I was up and running. I also went ahead and added a few of the fancier features like custom goals and conversion funnels.
My baseline comparison here will be Umami. I’ve been using Umami since BiblePlan launched about a year ago, so I’m very familiar with that tool. So far, here’s my comparison on setup:
- DataFast had a much simpler setup and guided me through it, whereas Umami just shared the tracking code and I was left in the dark on how to add custom events. This may be different now for Umami, but I kind of doubt it. Marc just has a super thoughtful onboarding.
- Umami has a better free tier. DataFast has a 14-day trial, Umami gives you 3 sites for free on a single account with no time limit.
- Both were fine with AI coding tools. The DataFast documentation is optimized for AI setup (I always love to see the “Copy Page” button!) and Umami is enough of an established player that I think it’s in most of the AI tools’ training set.
- If you want to use DataFast for a non revenue-generating SaaS, you’re missing out on some key functionality, so it may not be worth it.
- DataFast’s app is very easy to use and kind of addictive. Umami’s site is not really optimized for mobile so that is a huge plus for DataFast.